
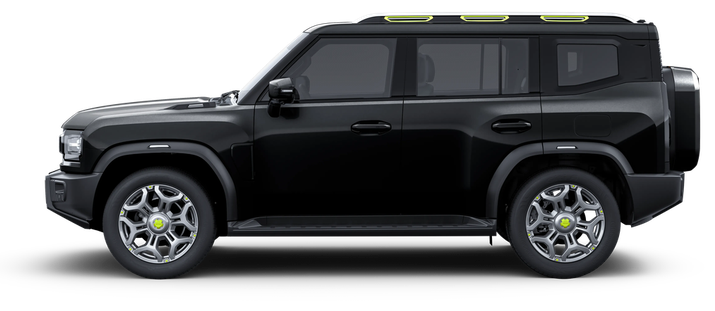
T2
Angular AWD SUV in Defender spirit - 2.0 turbo 250 hp, head-up display and 15.6" infotainment screen, and it can actually leave the pavement, not just look tough.
Connect and installThis model's infotainment
15.6" screen and Snapdragon 8155 chipset - from the official Jetour website. We removed the Android version ourselves from a live machine on July 31, 2026: this is one machine, another configuration may be different. RAM/ROM volumes - from unverified sources (third-party blog, review aggregators) may not coincide with the real Russian configuration.
How to enable ADB on Jetour T2
Enabled via the engineering menu hidden in regular settings - no need to disassemble the head unit.
The firmware version can be viewed in the GU settings (section “System information”). If the menu items do not match the description - contact support, we will sort it out for your version.
-
Open Settings → "System" The usual head unit settings section.
-
Find "System information" It is there, in the “System” section.
-
Tap 10–15 times to the right of those labels The engineering menu will open.
-
Find the button starting with "USB2.0" Some of the captions in the menu are in Chinese - look for “USB2.0” at the beginning, click on it.
-
Press the bottom button in the left column This includes ADB.
-
Connect a USB-A↔USB-A cable to your computer The connector on the GU is the top USB on the driver's side. You need a USB-A↔USB-A cable (both ends are normal, “flat”), specifically for data transfer, and not just for charging. After this, the GI should be detected in the browser when you click “Connect device” below.
-
Confirm the on-screen prompt if it appears Dialog “Allow USB debugging?” - accept it. On some firmwares this dialogue may not exist at all.
If there's no "USB2.0" / "Device" button - backup method via Encryption
On firmware 0.0.6 and 0.0.8 there's no "Device" button in the menu - in that case ADB is enabled through the ENCRYPTION section using a calculated password. It's the same method we describe for the Jaecoo J7: the head units on these cars share the same platform.
-
Open "Version Info" in the engineering menu The same menu you entered following the instructions above. Write down the device ID.
-
Take the last 6 digits of the ID and multiply by 802018 The last 6 digits of the result are the password. Taking more than six digits won't change the answer - the extra digits don't affect it. But taking fewer than six is not allowed - the password will come out wrong.
-
Enter the password in the Encryption section The section is in the same place, in the engineering menu.
-
Switch "Adb Switch" to the Open position This is what turns on ADB on firmware without a direct USB2.0 / Device button.
What to do if it won't connect
-
Reconnect the cable Unplug, enable ADB on the head unit again, then reconnect the cable.
-
If the head unit has a dashcam with its own USB drive Remove it and reboot the head unit (usually hold the volume − button on the steering wheel for ~10 seconds).
-
Check the USB port mode In developer settings, select "File transfer", not "Charge only".
-
Check your computer browser and OS Chrome or Edge on Windows 10/11 or macOS is required - other browsers and phones are not supported.
-
Try another cable and port Cheap cables often carry power only - use a quality USB-A↔USB-A data cable, not a charge-only one.
-
On Windows - install the ADB driver If the head unit still doesn't appear when you click "Connect device", some Windows PCs need the universal ADB driver: download here, install it and reboot. No driver is needed on Mac.
Connect and install
Connect the head unit to your computer via USB and install the recommended bundle in one click. Works in Chrome and Edge on desktop.
You need a USB cable and ADB debugging enabled on the head unit (see instructions above). On first connect, confirm the prompt on the car screen.